
Blog
How to Prepare Outdoor Surfaces Before Painting Using Pressure Washers

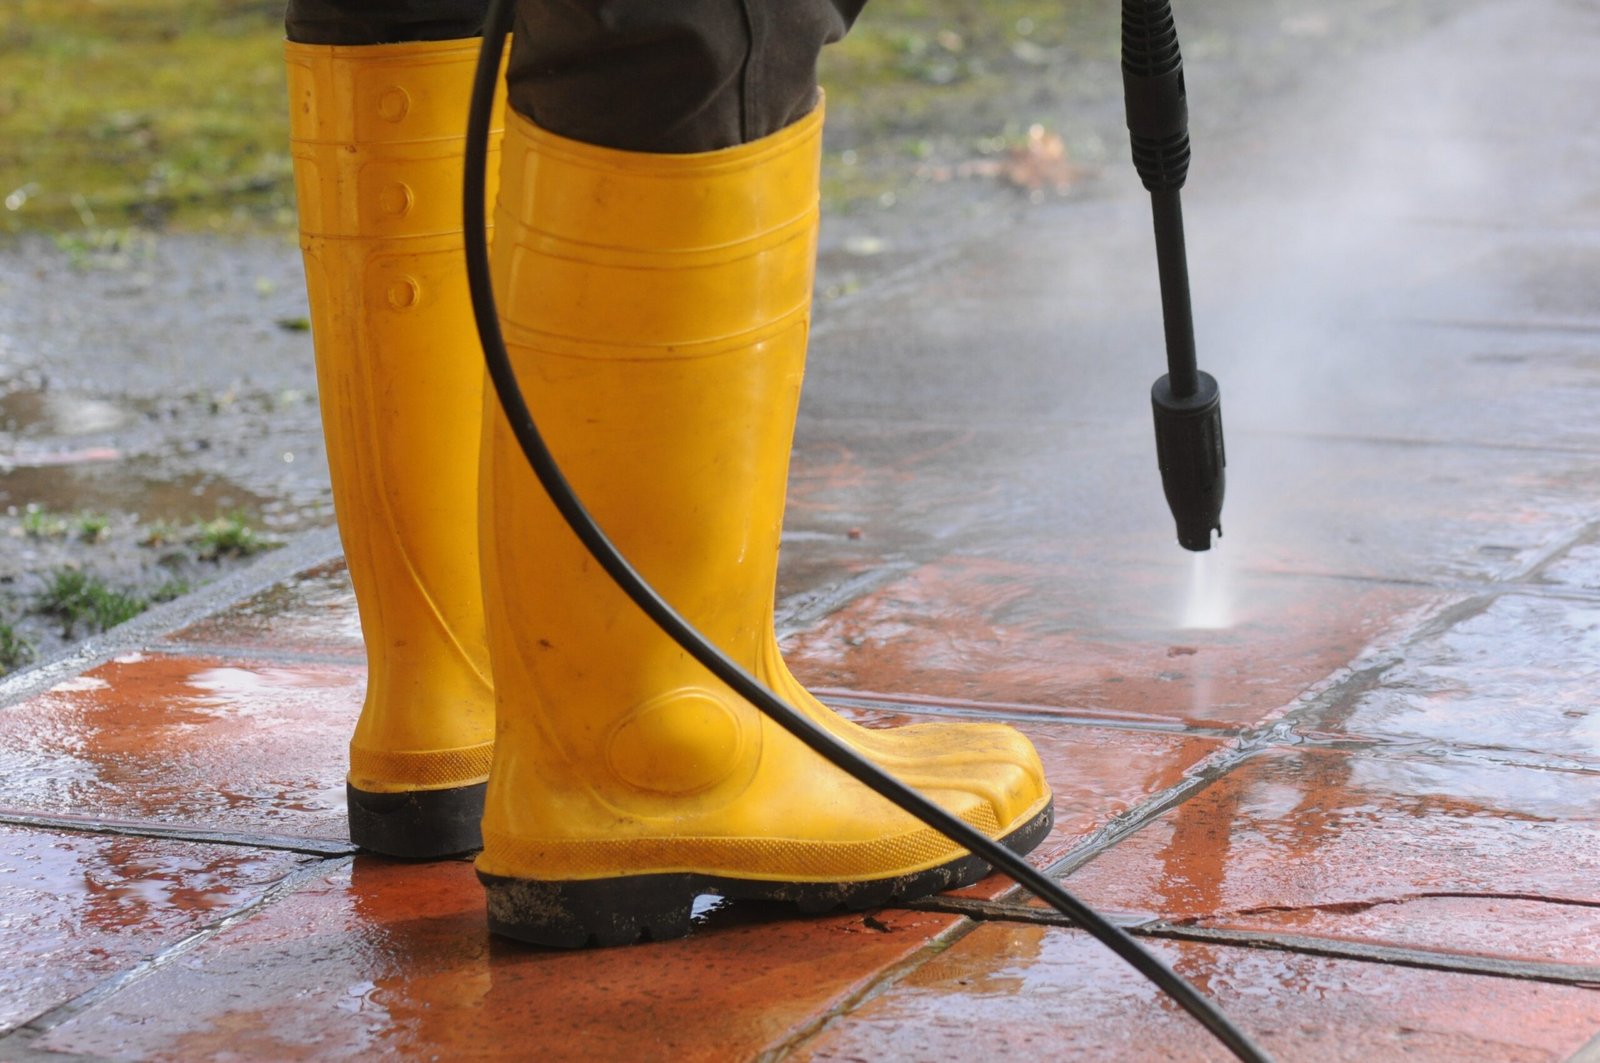
A successful exterior paint job begins long before the first coat goes on. Dirt, chalky residue, mildew, loose paint, and airborne contaminants can prevent fresh paint from adhering properly, even when the surface looks reasonably clean. Proper preparation helps create a stable foundation, reduces the likelihood of premature peeling, and improves the finished appearance.
For homeowners and maintenance professionals, pressure washers can make exterior cleaning faster and more consistent than scrubbing large areas by hand. However, effective preparation depends on more than water pressure alone. Choosing the right nozzle, adjusting the cleaning distance, and allowing sufficient drying time are just as important as removing visible grime.
The goal is not to blast a surface until it looks new. It is to clean it thoroughly without damaging the material underneath.
1. Understand Why Exterior Paint Preparation Starts With Cleaning
Paint needs a clean, sound surface to form a reliable bond. Dust, grease, mildew, and loose coatings create barriers between the substrate and the new finish. Painting over these contaminants can lead to uneven coverage, bubbling, or peeling.
Pressure washing helps remove accumulated dirt from siding, masonry, fences, decks, and other outdoor structures. It is particularly useful on textured surfaces where brushes may struggle to reach recessed areas.
However, washing cannot correct every underlying problem. Rotting wood, deteriorated mortar, failing paint, and structural cracks require separate attention before painting begins.
A practical inspection before cleaning helps determine which surfaces need washing, scraping, sanding, or repair.
2. Choose the Right Cleaning Method for Each Exterior Material
Not every outdoor surface can tolerate the same pressure. A setting that works well on sound concrete may damage softwood siding or force water behind exterior cladding.
Painted wood and exterior siding
Wood siding requires a conservative approach because excessive pressure can raise the grain, gouge the surface, or drive moisture into joints. Use a suitable low-pressure setting, maintain a consistent distance, and direct the spray downward where the siding design allows.
Older paint deserves special attention. If the coating is cracking or peeling, test a small area first and avoid aggressive washing that could damage the substrate or disperse hazardous paint particles.
Concrete, brick, and masonry
Sound concrete generally tolerates more cleaning force than wood, but mortar joints and older brick can be fragile. Start with a wider spray pattern and moderate pressure, then increase cleaning intensity only if the material can withstand it.
Efflorescence, which appears as a white mineral deposit, may require a different treatment than ordinary dirt. Identify the cause before applying cleaners or attempting to remove the deposit.
Fences, decks, and composite materials
Wood fences and decks often accumulate algae, pollen, and weathered surface residue. Excessive pressure can leave permanent marks that become more noticeable after painting or staining.
Composite boards and factory-finished materials also have manufacturer-specific cleaning requirements. Consult the care instructions before choosing a nozzle or detergent.
3. Select a Pressure Washer Setting That Cleans Without Causing Damage
The most effective cleaning setup is the least aggressive one that removes the contaminants. Maximum pressure is rarely the best starting point.
Before washing, consider three variables:
- Pressure: Lower settings are generally more appropriate for wood, painted siding, and delicate finishes.
- Nozzle angle: A wider spray distributes force over a larger area, reducing the risk of concentrated damage.
- Working distance: Starting farther away gives you room to assess the cleaning effect before moving closer.
A 25-degree or 40-degree nozzle is often a more sensible starting point than a narrow, concentrated spray, although the correct choice depends on the surface and equipment instructions.
Test the setup in an inconspicuous area. If the material becomes fuzzy, chipped, etched, or visibly marked, stop and reduce the cleaning intensity.
Never use a pressure washer to remove suspected lead-based paint. High-pressure water can spread hazardous paint chips and contaminated runoff. The U.S. Environmental Protection Agency provides guidance on lead-safe renovation practices.
4. Prepare the Work Area Before You Start Washing
Good preparation protects landscaping, nearby property, and the surfaces that should not get wet.
Begin by moving outdoor furniture, grills, planters, and decorations away from the work area. Close windows and doors, cover vulnerable electrical components, and protect nearby plants from cleaning solutions and heavy runoff.
Next, inspect the structure for gaps, damaged seals, loose trim, and cracked window caulking. Water entering these openings can become trapped behind the exterior finish.
Take these steps before connecting the equipment:
- Sweep away loose leaves, cobwebs, and surface debris.
- Cover electrical outlets, light fixtures, and other vulnerable components appropriately.
- Check the manufacturer’s instructions for safe cleaning distances and compatible detergents.
- Identify drainage routes so dirty water does not flow into unwanted areas.
- Wear eye protection, suitable footwear, and other recommended protective equipment.
Keep the spray away from people, pets, windows, and electrical equipment. Pressure washer streams can cause serious injuries, even when the visible wound appears small.
5. Follow a Step-by-Step Washing Process for Better Results
A consistent cleaning sequence makes it easier to spot missed areas and avoid unnecessary repeat work.
Step 1: Remove loose dirt and debris
Brush away cobwebs, loose leaves, and dry material before introducing water. This reduces the amount of debris carried across the surface during washing.
Step 2: Apply a compatible cleaner when necessary
Grease, mildew, and embedded organic residue may not respond to water alone. Select a cleaner specifically labeled for the material and intended use.
Apply it according to the product instructions, allow the recommended dwell time, and do not let it dry on the surface. Never mix cleaning chemicals unless the manufacturer explicitly permits it.
Step 3: Wash from top to bottom
Work in manageable sections, keeping the nozzle moving rather than concentrating the spray in one spot. On siding, follow the manufacturer’s recommended spray direction to minimize water intrusion.
Rinse each section thoroughly before moving on. Watch for streaking, loose coating, or changes in the surface texture that could indicate damage.
Step 4: Inspect the cleaned surface
After rinsing, look for remaining dirt, slippery biological growth, loose paint, and damaged areas. Repeat localized cleaning where appropriate instead of increasing pressure across the entire structure.
6. Decide When Pressure Washing Is Better Than Hand Scrubbing
Pressure washing is useful for broad exterior areas, but it is not always the safest or most effective option.
| Cleaning method | Best suited for | Main consideration |
| Pressure washing | Large areas of durable siding, sound masonry, and exterior surfaces | Requires careful control of pressure and spray direction |
| Hand scrubbing | Small sections, delicate finishes, and localized stains | Requires more time and physical effort |
| Soft washing | Fragile surfaces and organic contamination | Depends on compatible cleaners and controlled rinsing |
| Dry brushing and scraping | Loose paint, dry debris, and surface preparation after washing | Does not remove all embedded dirt or grease |
For example, a large concrete retaining wall may benefit from controlled pressure washing, while an older wooden window frame may be better cleaned by hand.
The decision should be based on the material’s condition, not simply the size of the job. If a surface is deteriorated or cannot tolerate the spray, use a gentler method.
7. Allow Enough Drying Time Before Applying Primer or Paint
One of the most common exterior painting mistakes is assuming that a surface is ready as soon as visible water disappears.
Wood, masonry, and joints can retain moisture long after the surface appears dry. Applying primer or paint too early can interfere with adhesion and contribute to blistering, peeling, or trapped moisture.
Drying time varies with the material, temperature, humidity, airflow, sunlight, and how much water entered the surface. A few hours may be enough for some nonporous areas, while wood and masonry can require substantially longer.
Before painting:
- Follow the paint and primer manufacturer’s moisture requirements.
- Use a suitable moisture meter for wood when appropriate.
- Check shaded areas, joints, and porous materials rather than relying on appearance alone.
- Allow additional drying time in cool, humid, or overcast conditions.
For wood, a moisture content around 15% or lower is often a useful target for many exterior coating projects, but the coating manufacturer’s specified limit takes precedence. Masonry products may have different requirements.
8. Avoid Common Pressure Washing Mistakes That Compromise Paint Adhesion
Even a thorough wash can create more work if the equipment is used incorrectly.
Using excessive pressure: This can gouge wood, erode mortar, damage siding, and loosen sound coatings. Start conservatively and increase force only when justified.
Painting over remaining mildew: Surface growth may return beneath the new finish. Use an appropriate treatment and rinse according to its instructions.
Treating washing as a substitute for scraping: Loose and flaking paint still needs to be removed using suitable methods after the surface dries.
Ignoring repairs: Damaged caulking, rotten boards, and cracks should be addressed before painting.
Skipping the final inspection: Dirt can remain beneath trim, around fasteners, and in textured recesses. Check these areas before moving to priming.
The U.S. Department of Energy’s guidance on air sealing and weatherization also reinforces the importance of identifying and addressing gaps around exterior openings as part of broader home maintenance.
Frequently Asked Questions
Can you pressure wash a house immediately before painting?
Yes, provided the surface is suitable for pressure washing and receives adequate drying time afterward. The exact interval depends on the material and environmental conditions, so follow the coating manufacturer’s requirements.
Should you remove old paint before pressure washing?
Loose or failing paint should be removed, but pressure washing alone is not a reliable substitute for scraping and other appropriate preparation. Suspected lead-based coatings require lead-safe procedures rather than high-pressure removal.
What pressure should you use before exterior painting?
There is no universal pressure setting. Start with a low setting and a wider nozzle, test a small area, and follow the surface and equipment manufacturers’ recommendations.
Is detergent necessary when washing outdoor surfaces?
Not always. Water may be sufficient for ordinary dust and loose dirt, while grease and organic growth may require a compatible cleaner. Follow its application, dwell-time, and rinsing instructions.
How can you tell whether an exterior surface is ready to paint?
It should be clean, sound, free of loose coatings and harmful residue, and dry enough to meet the primer or paint manufacturer’s requirements. Complete any necessary repairs before applying the first coat.
Prepare the Surface, Not Just the Appearance
A durable exterior paint job depends on the condition of the surface beneath the finish. Pressure washing can remove years of accumulated grime, but the best results come from matching the cleaning method to the material, controlling water pressure, protecting vulnerable areas, and allowing adequate drying time.
Treat washing as one stage in a complete preparation process. Once the surface is clean, dry, repaired, and properly inspected, primer and paint have a much better foundation for lasting performance.

Can Machines Spot Machine Writing? A Closer Look at AI Essay Checkers

How Niche eCommerce Founders Can Validate Product Demand Before Investing in Inventory

Building a Competitive Online Presence with Link Building Services and SEO Packages

Luxury Rigid Boxes: Planning Premium Packaging Around Product Fit and Presentation

Tommy Bynes: Everything About Amanda Bynes’ Brother

How to Cook Healthy Family Meals Safely: A Parent’s Guide

How Personalized Addiction Treatment Plans Can Improve Patient Engagement and Recovery Outcomes

Need LLC Help? Here’s How to Get an LLC Online

Helen Beth Duntz: The Real Story of James MacArthur’s Wife

Cassandra Marino: The Full Story of Caitlyn Jenner’s Eldest Daughter

Charfen.co.uk: What Is It and What Does It Offer?

SoSoActive: Everything You Need to Know About the Digital Platform

Buying Property Through Your Super? Run an SMSF Loan Calculator Before You Call a Broker

Kerri Browitt Caviezel: Everything to Know About Jim Caviezel’s Wife

Voozon.com: Everything You Need to Know Before Using It

From Search Visibility to Enquiries: Building a Stronger SEO System in Essex

Eractoll: What Is It and Why Did Enterprise Charge You?

How to Make Kofta Kebabs at Home Without Overthinking It

Michele Morrone Net Worth: His Salary, Earnings, and Rich Life

NF Net Worth: How the Rapper Turned Pain Into Millions
Can Machines Spot Machine Writing? A Closer Look at AI Essay Checkers
How Niche eCommerce Founders Can Validate Product Demand Before Investing in Inventory
Building a Competitive Online Presence with Link Building Services and SEO Packages
Luxury Rigid Boxes: Planning Premium Packaging Around Product Fit and Presentation
Tommy Bynes: Everything About Amanda Bynes’ Brother
How to Cook Healthy Family Meals Safely: A Parent’s Guide
How Personalized Addiction Treatment Plans Can Improve Patient Engagement and Recovery Outcomes
Need LLC Help? Here’s How to Get an LLC Online
Helen Beth Duntz: The Real Story of James MacArthur’s Wife
Cassandra Marino: The Full Story of Caitlyn Jenner’s Eldest Daughter
-

 News2 months ago
Who Is Gigi Yallouz? Meet Owain Yeoman’s Wife and Jewelry Designer
-

 News2 months ago
Who Is Tove Torvalds? All About Linus Torvalds’ Wife
-

 News2 months ago
Rajesh Nihalani: What We Know About Archie Panjabi’s Husband
-

 News2 months ago
Stephan Farmiga: Everything to Know About Vera Farmiga’s Brother